All three of my boys have been binkie and blanket lovers. My daughter never liked a pacifier or a blanket, but my boys took to them right away.
My last baby has had his binkie longer than any of my other boys. He's 20 months old and it was time to get rid of it. He was my only child that actually learned how to say the word "binkie" at an early age.
I tried to just keep it in his bed, but with three other kids at home it didn't stay there. My baby guy cries (or rather, cried) a lot, so someone would just give him his binkie to make him be quiet. I finally got tired of him taking it everywhere, to the park, to church, etc. And I got tired of looking for it at bedtime and naptime. Mr. Baby Guy still cried even if he had it in his mouth.
So, we decided as a family that the binkie had to go.

I've gotten rid of the binkie the same way with all three of my boys and it worked each time, pretty painlessly.
It's very easy and doesn't involve mailing it to the Binkie Fairy or anything.
Here's my trick.
Step 1. Gather up all your binkies (make sure your binkie sucker isn't around).
Step 2. Cut off the tip.
Step 3. Watch the magic happen.

Here's what my baby guy did when he found his new and improved binkie. He picked it up and tried to suck on it, which for obvious reasons didn't work. He looked and it and dropped it on the floor. He didn't even cry. He just looked mad. Not mad at me. But mad at the binkie.
Then came naptime. We had already established a naptime routine. I read him a story in the rocking chair. Then I lay him in his crib and covered him with his blanket and left. He went right to sleep.
Then came bedtime. We did our usual bedtime routine. Story. Songs. Prayer. Lay him in bed with blanket. He didn't cry and went right to sleep.
It's been five or so days since I cut the end off. He's only cried for a few minutes at bedtime twice. He's actually been much happier during the day. And he talks more without it hanging in his mouth.
I didn't throw the pacifiers away. They're still laying around the house with some toys. This morning he found one and tried to put it in his mouth. He dropped it on the floor and left it without a sound.
Not convinced? Let me tell you about how it went down for my other kiddos.
Son #1.

It's been at least seven years since I cut the end off of Son #1's binkie. I don't remember how old he was exactly. He was less than 18 months and older than a year. I put the cut off binkie in his bed. The first night he laid in bed with it resting on his mouth and went to sleep. After that it fell between his bed and the wall and he never wanted it again.
Son #2.
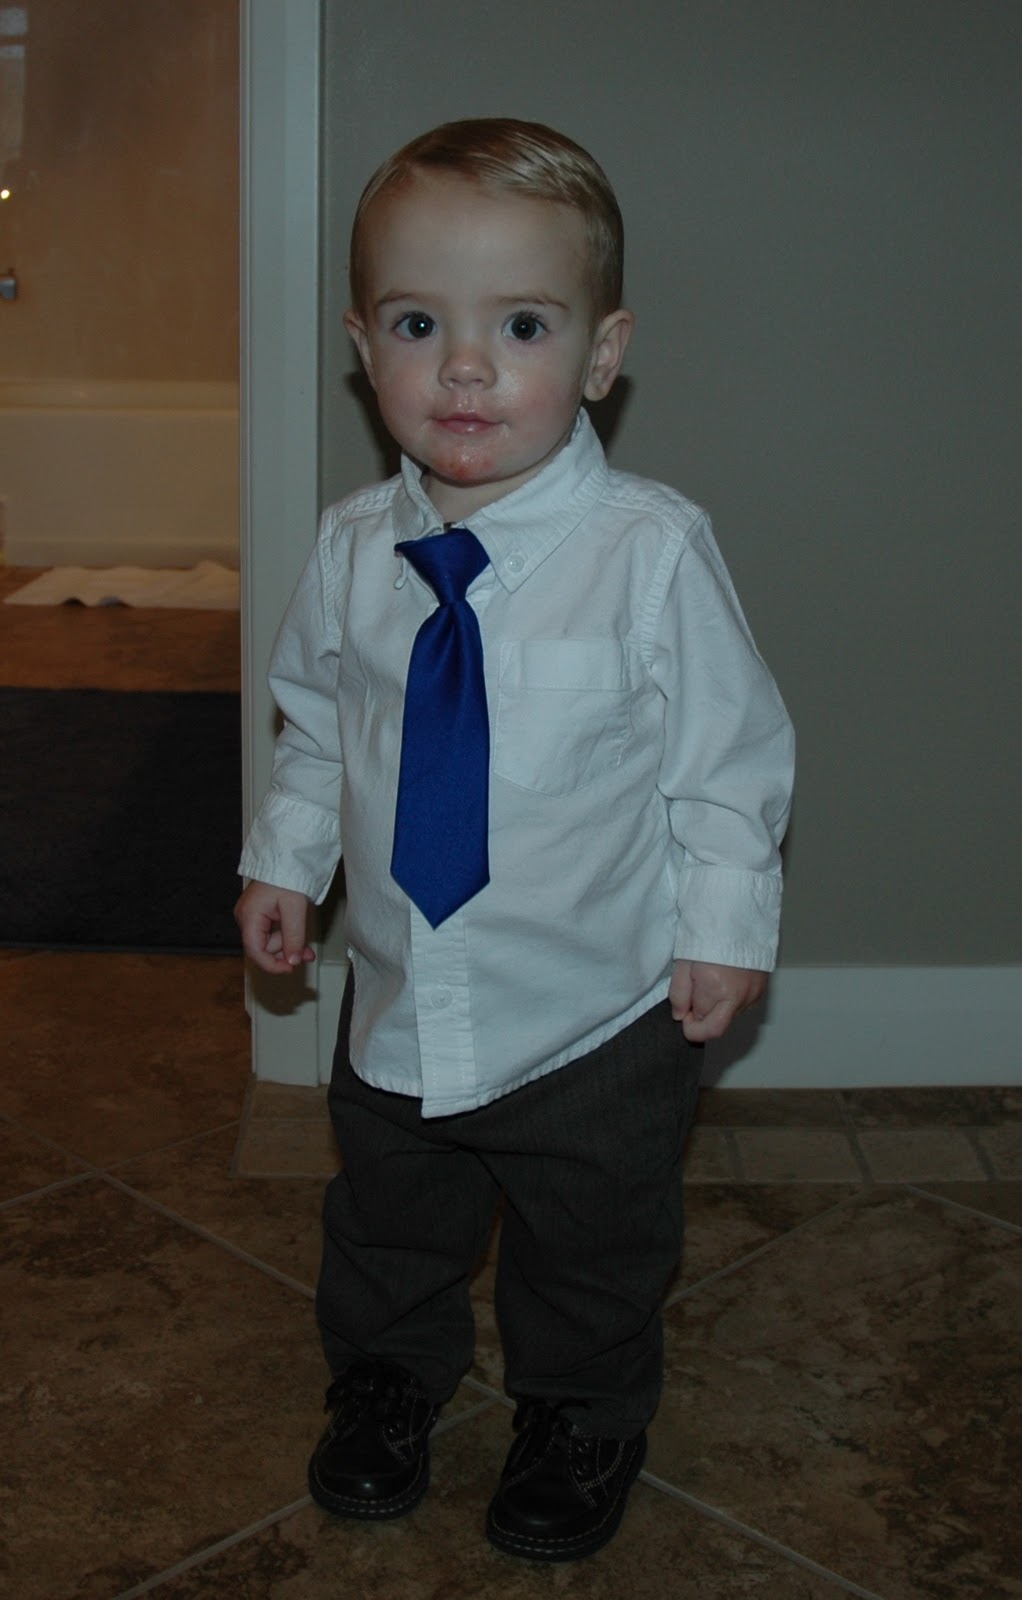
We got rid of Son #2's binkie right after this picture was taken at my little brother's wedding. He was 17 months old and had this awful rash on his chin from drooling while he sucked on his binkie. We couldn't get rid of the rash until the binkie was gone.
I don't remember it being a big deal when we cut the end off of his binkie. He looked at it and dropped it because it didn't work anymore.
All right...are you convinced?
Cutting off the end of the binkie is an easy way to go. You can cut off a little bit at a time, so they still have something to suck on, but get annoyed that it doesn't work right.
The bottom line is that you're not taking the binkie away from then. They can still have it. But they'll be mad at it because it won't work. They won't be mad at you (unless you cut it in front of them, which is a bad idea).
Then you won't have any more pictures with binkies in them. Yay!

Just smiling, happy, binkie-free kids!

Jenny